Managing Customer Status Types
This guide explains how to view, add, edit, and delete Customer Status Types in the Exigo Admin portal. Customer Status Types define the possible states a customer account can be in (e.g., Active, Terminated, Suspended) and are used throughout the system for customer lifecycle management.
Overview
Customer Status Types are configured under Company Settings and appear on the Customer Types tab within the Modify General Settings popup. Each status type has:
- Type ID — A unique numeric identifier assigned automatically.
- Description — A human-readable label for the status (e.g., "Active", "Pending", "Terminated").
- Text Color — A color used to visually distinguish the status in the admin interface.
- Allow Edit — A flag that controls whether the status can be modified after creation.
Common default status types include Active, Terminated, Pending, Suspended, and Cancelled. Companies can create additional custom statuses to match their business processes.
Step-by-step
1) Navigate to Company Settings
From the Exigo Admin dashboard, go to Administration > Settings in the left sidebar.

The Company Settings page loads, displaying all company-level configuration panels.
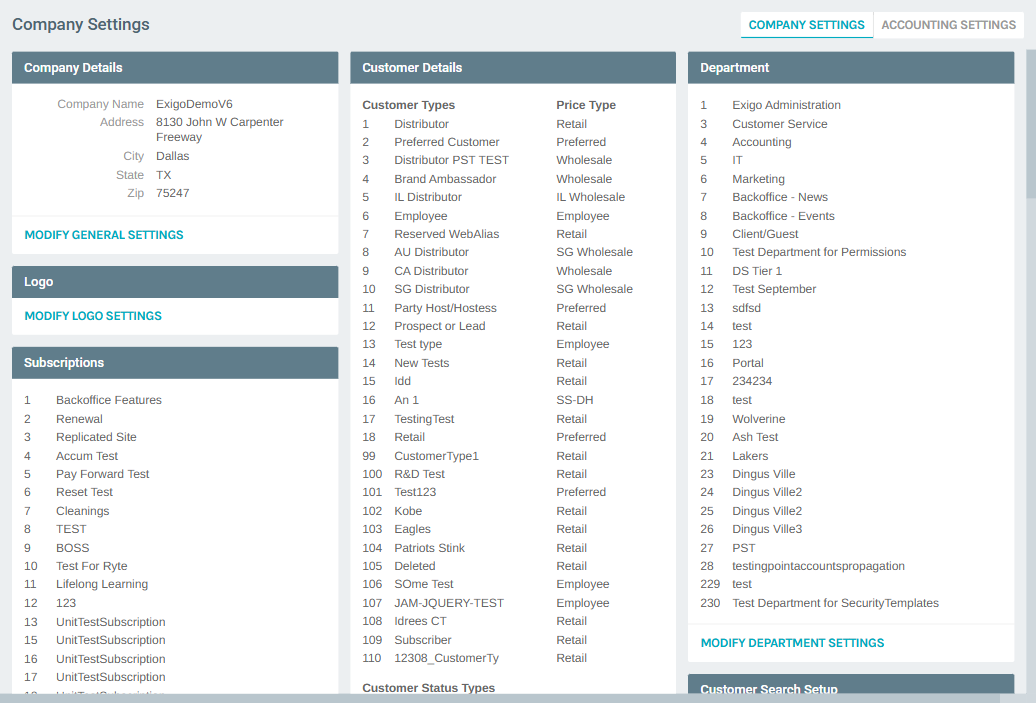
2) Locate the Customer Status Types Section
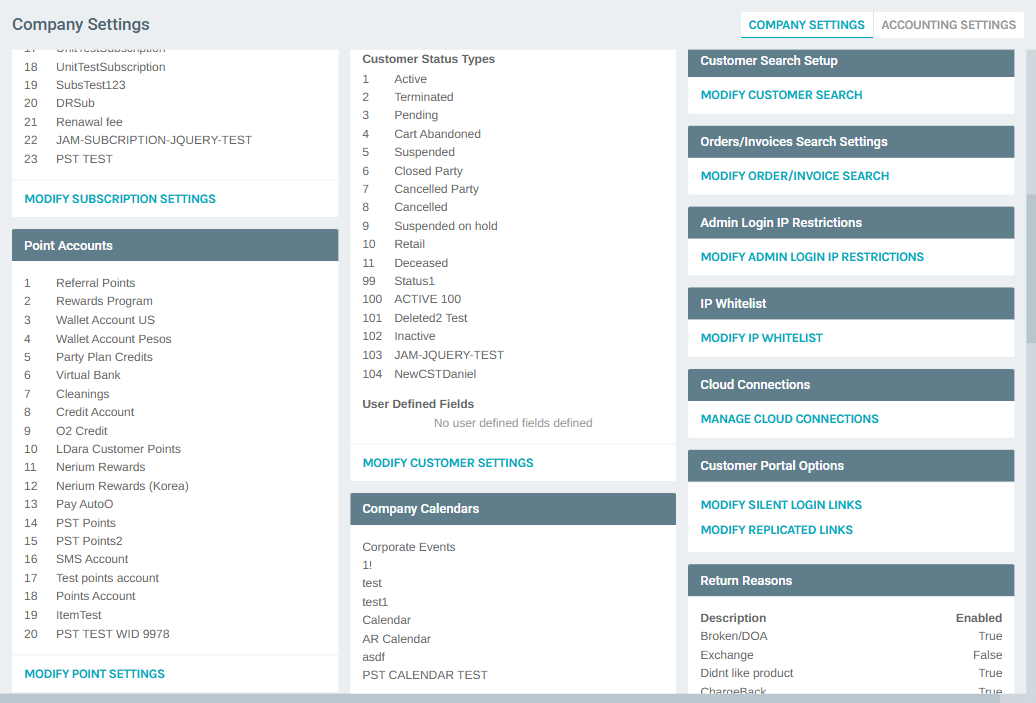
Scroll down on the Company Settings page to the Customer Details panel in the center column. Below the Customer Types table, you will find the Customer Status Types table, which lists all configured status types with their ID and description.
At the bottom of the Customer Details panel, click MODIFY CUSTOMER SETTINGS to open the configuration popup.
3) Open the Modify General Settings Popup
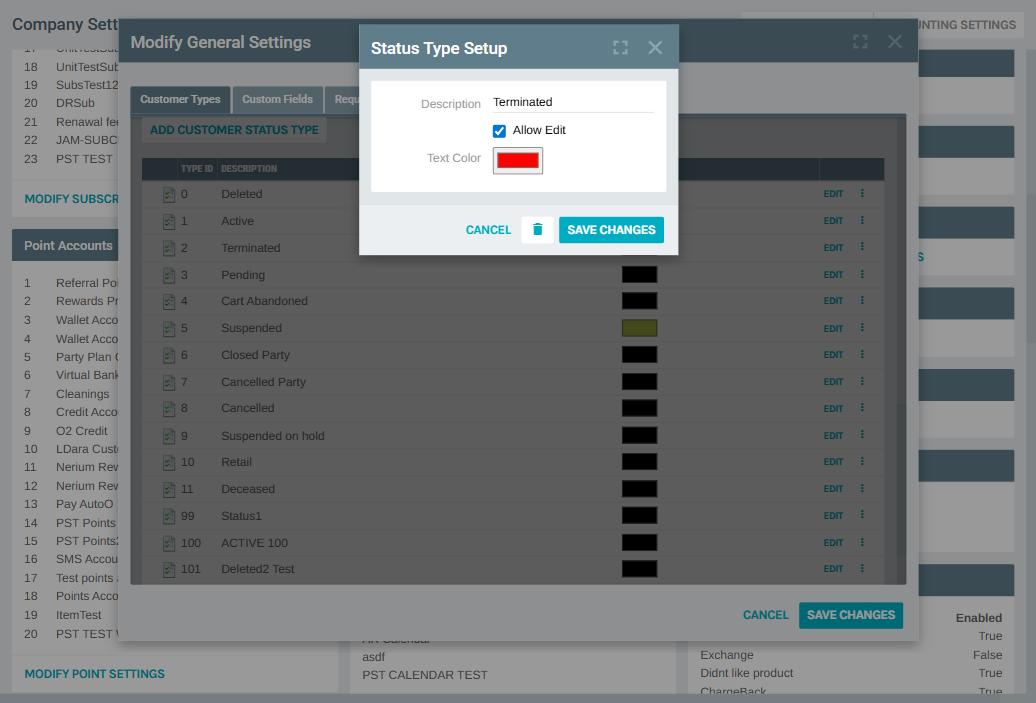
The Modify General Settings popup opens with the Customer Types tab selected. This tab contains two grids:
- Customer Types — at the top, listing all customer type definitions.
- Customer Status Types — below, listing all customer status type definitions.
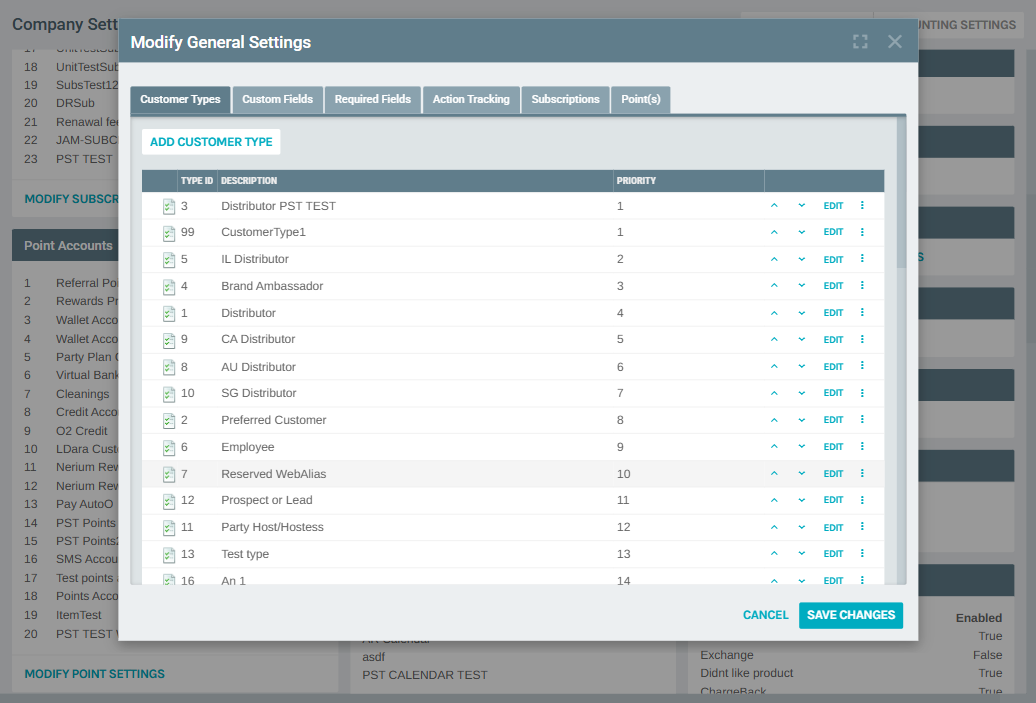
Scroll down within the popup to reach the Customer Status Types grid.
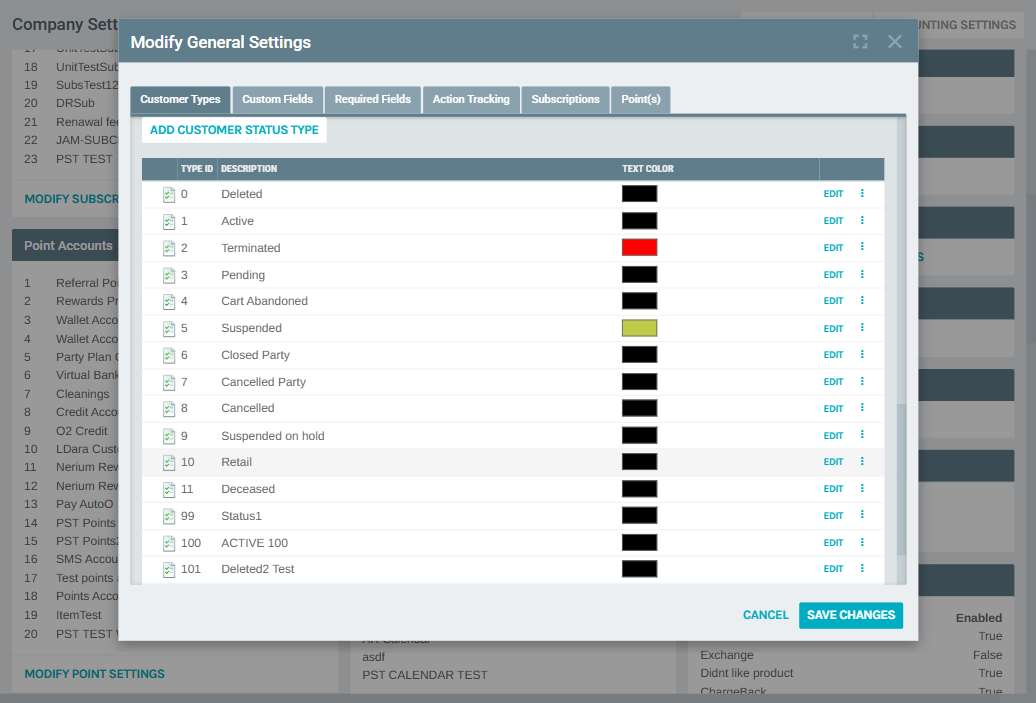
The Customer Status Types grid displays the following columns:
| Column | Description |
|---|---|
| Type ID | The unique numeric identifier for the status type |
| Description | The display name of the status |
| Text Color | A color swatch indicating the visual color used for this status in the UI |
| Edit | Link to open the edit form for the status type |
| More options | Three-dot menu (⋮) with additional actions (edit, delete) |
Adding a New Customer Status Type
4) Open the Add Form
Click the ADD CUSTOMER STATUS TYPE button above the Customer Status Types grid.
A Status Type Setup dialog appears with the following fields:

| Field | Description |
|---|---|
| Description | The display name for the new status type (e.g., "On Hold", "Expired") |
| Allow Edit | When checked, this status type can be modified after creation |
| Text Color | A color picker to choose the display color for this status (defaults to black #000000) |
5) Save the New Status Type
- Enter the desired Description for the new status type.
- Check Allow Edit if you want to allow future modifications to this status.
- Select a Text Color by clicking the color swatch and choosing from the color picker.
- Click ADD CUSTOMER STATUS TYPE to save, or CANCEL to discard.
The new status type will appear in the Customer Status Types grid with an automatically assigned Type ID.
Note
After adding a new status type, click SAVE CHANGES on the Modify General Settings popup to persist the change.
Editing an Existing Customer Status Type
6) Open the Edit Form
From the Customer Status Types grid, click Edit next to the status type you want to modify. The Status Type Setup dialog opens with the current values pre-populated.
The edit form contains:
| Field | Description |
|---|---|
| Description | The current name of the status type (editable) |
| Allow Edit | Checkbox indicating whether this status can be modified |
| Text Color | The current display color (editable via color picker) |
7) Save or Delete
- Modify any fields as needed.
- Click SAVE CHANGES to update the status type.
- Click the delete icon (trash can) to remove the status type.
- Click CANCEL to discard changes.
Warning
Deleting a customer status type is permanent. Ensure the status is not actively assigned to customers or referenced by other configurations (such as Termination Settings) before removing it.
Best Practices
- Use Descriptive Names — Choose clear, concise descriptions that convey the meaning of each status (e.g., "Suspended — Pending Review" rather than just "Status5").
- Assign Meaningful Colors — Use distinct text colors for statuses that require attention (e.g., red for "Terminated", yellow for "Suspended") to improve visibility in the admin UI.
- Limit Custom Statuses — Only create additional status types when your business process genuinely requires them. Too many statuses can create confusion.
- Coordinate with Termination Settings — Customer Status Types are referenced by Termination Settings (the "Change Status to" option). Make sure any status used in termination rules exists in this list.
- Protect Critical Statuses — Leave the Allow Edit checkbox unchecked for system-critical statuses (like "Active" or "Terminated") to prevent accidental modifications.
System Notes
- Type ID
0is reserved for the Deleted status and cannot be removed. - Type IDs are assigned automatically and cannot be changed after creation.
- Text Color values are stored as hex color codes (e.g.,
#FF0000for red). - Changes to Customer Status Types take effect after clicking SAVE CHANGES on the Modify General Settings popup.
- Customer Status Types appear in dropdowns throughout the system, including Customer Search filters, Termination Settings, and customer profile pages.