How to Move a Customer in the Tree
See the sections below for configuration steps in the Exigo Portal.
How to Move Customers in a Tree
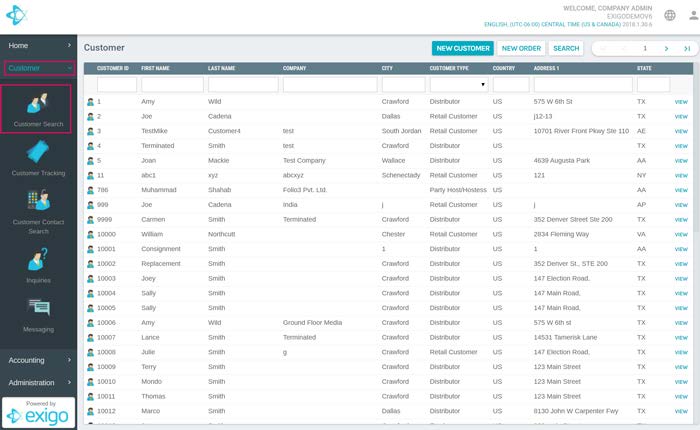
- Locate the Customer you want to move. You can do this by clicking on the Customer Section in
the right hand menu.
-
Then Click on Customer Search.
-
This will bring you to a screen with multiple customers listed:
-
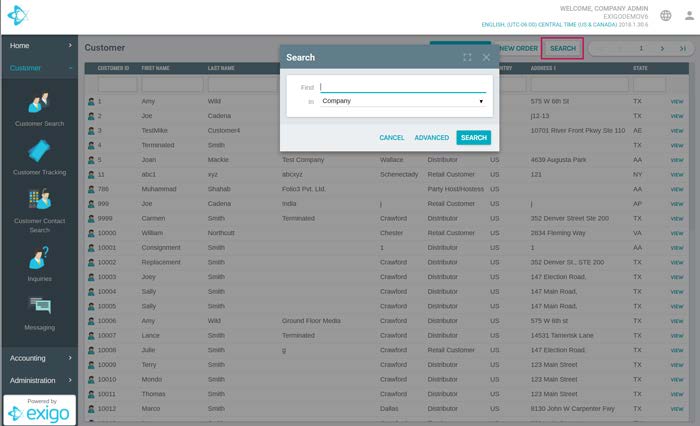
Next: Click on Search in the upper right hand corner, or simply click on the customer you want
to change if he is on the screen.
- You can search by several criteria including First Name, Company, Last Name, and
CompanyId to name a few.
in the list) and you will see the following screen. Next you will want to select the c...
- After entering in the correct search criteria, click on Search. (or double click on the customerid
in the list) and you will see the following screen. Next you will want to select the correct tree
that you want to make a move in. By clicking on the item marked #1 select the Tree that you
wish to change.
NOTE: This label changes according to what section you are in. If it says orders, it will show all
the orders in the right most pane. If it says History, it will show all the customer history in the
right hand pane, and so on.
-
Click on the label, and select Unilevel Tree.
-
You will now see something similar to the image below. To make a move in this tree simply click
on the word Transfer.
-
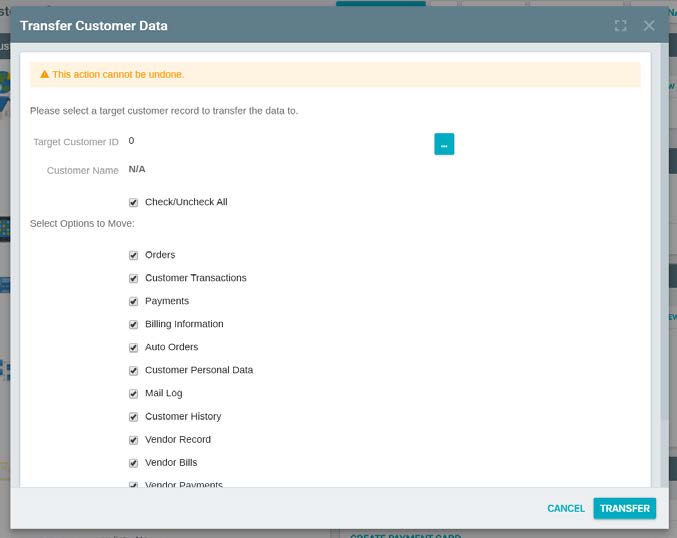
After clicking on the word move, you will the see something like the image below.
-
Simply enter the CustomerID you wish to move this customer under.
If you do not know the CustomerID you can click on the blue box with three dots, and search
- If you wish to move someone in the enroller tree, use the same steps, but select Enroller tree
instead of unilevel.