Exigo Check Printer Module
See the sections below for configuration steps in the Exigo Portal.
How to Print Commission Checks Using the Exigo Printer Module
To use this module, you will need to:
-
Setup your user account
-
Configure the check settings
-
Install the module on the local workstation to be used to print checks
SETTING UP USER PERMISSIONS
Go to Administration>>Users and edit your account or the account of the User that will be printing checks.
-
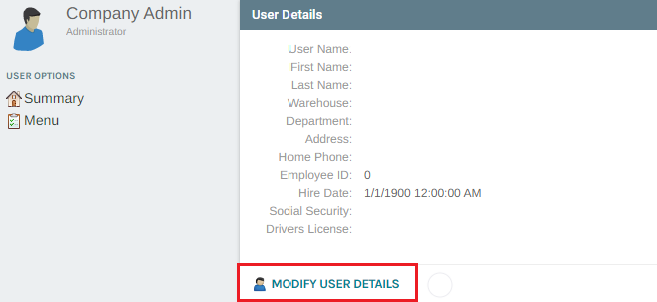
Search for the user that will be printing checks and open the user.
-
Click MODIFY USER DETAILS
-
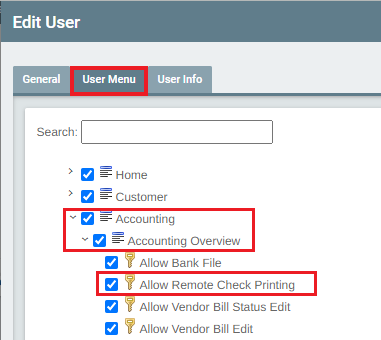
From the User Menu tab, expand Accounting>>Accounting Overview and then enable the permission for
"Allow Remote Check Printing".
CONFIGURING CHECK SETTINGS
Go to Administration>>Settings and from the upper right tool bar, click on Accounting Settings.
To change the format style to be used:
-
Go to Check Templates in the bottom left column and click on the bank account to be used.
-
When the Edit Info popup appears, select the Check Template style from the drop down. You may use the
margin fields to modify the offset of the information for alignment purposes.
Depending upon the format you are using, there may be additional settings for bank information and signature
that gets printed on the check.
If you are using a format that is using blank check stock, then you will want to select a style format that prints the
bank information, the routing number and the account number. These will require the use of the MICR font which
can be downloaded from http://www.exigo.com/Downloads We strongly suggest you use a MICR Toner for your
To configure bank information:
- Go to the Bank Account section in the left column of Accounting Settings and click on the Bank Account that
you will use.
- When the Edit Bank Details popup appears, you can enter Bank information on the Contact tab. You can use
the Account tab to enter the routing, account, and bank code information. This is where you can upload the
signature file in .jpg, .gif or .bmp format.
-
Go to www.exigo.com/downloads and then click on the Download button for Exigo Payout.
-
The Exigo Smart Client Setup install screen will appear.
-
Click on the Install button. You will see a file download popup appear, click on Run. The install shield wizard
will then download and install the application and you can click on Next through the series of questions from
the wizard.
Please make sure you have administrator rights on your machine, or you have set admin permission on the Exigo
folder in your Program Files should the install not complete successfully.
Once the program is installed on your machine, you can now access the program by going to your Start menu and
search for 'ExigoPayout'.
You will need to access the program by entering the same login information you use to access your Exigo
administration account.