Bank Accounts
This document provides a step-by-step guide for managing Bank Accounts in the Exigo Admin portal.
Overview
Bank Accounts in Exigo store the banking information used for commission payouts, ACH transactions, and other financial operations. Each bank account includes contact details, address information, and account numbers. You can configure multiple bank accounts for different currencies or regions, and define custom bank account types to categorize them.
Accessing Bank Accounts
Navigation Path
- Log in to the Exigo Admin portal.
- Navigate to Administration > Settings.
- Click the ACCOUNTING SETTINGS tab.
- The Bank Account section is displayed near the top of the page, listing all configured bank accounts.
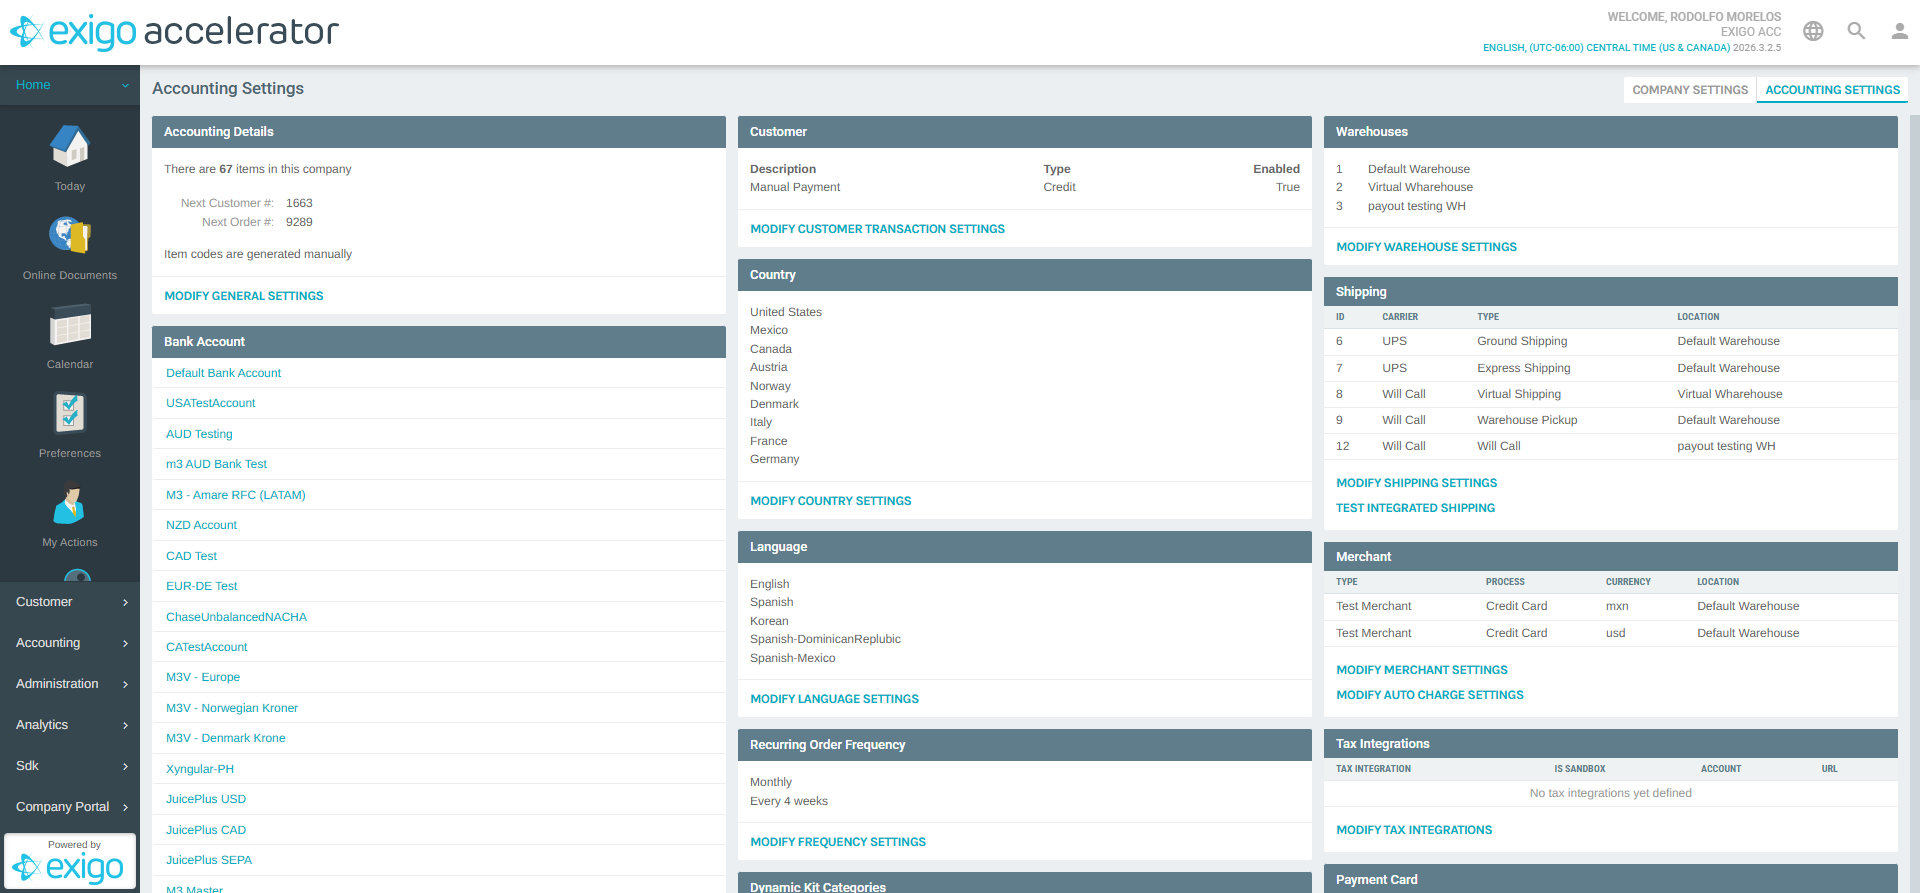
Viewing Existing Bank Accounts
The Bank Account section displays a list of all configured bank accounts as clickable links. Click any bank account name to view or edit its details.
Below the bank account list, the ADD NEW BANK ACCOUNT link allows you to create a new entry.
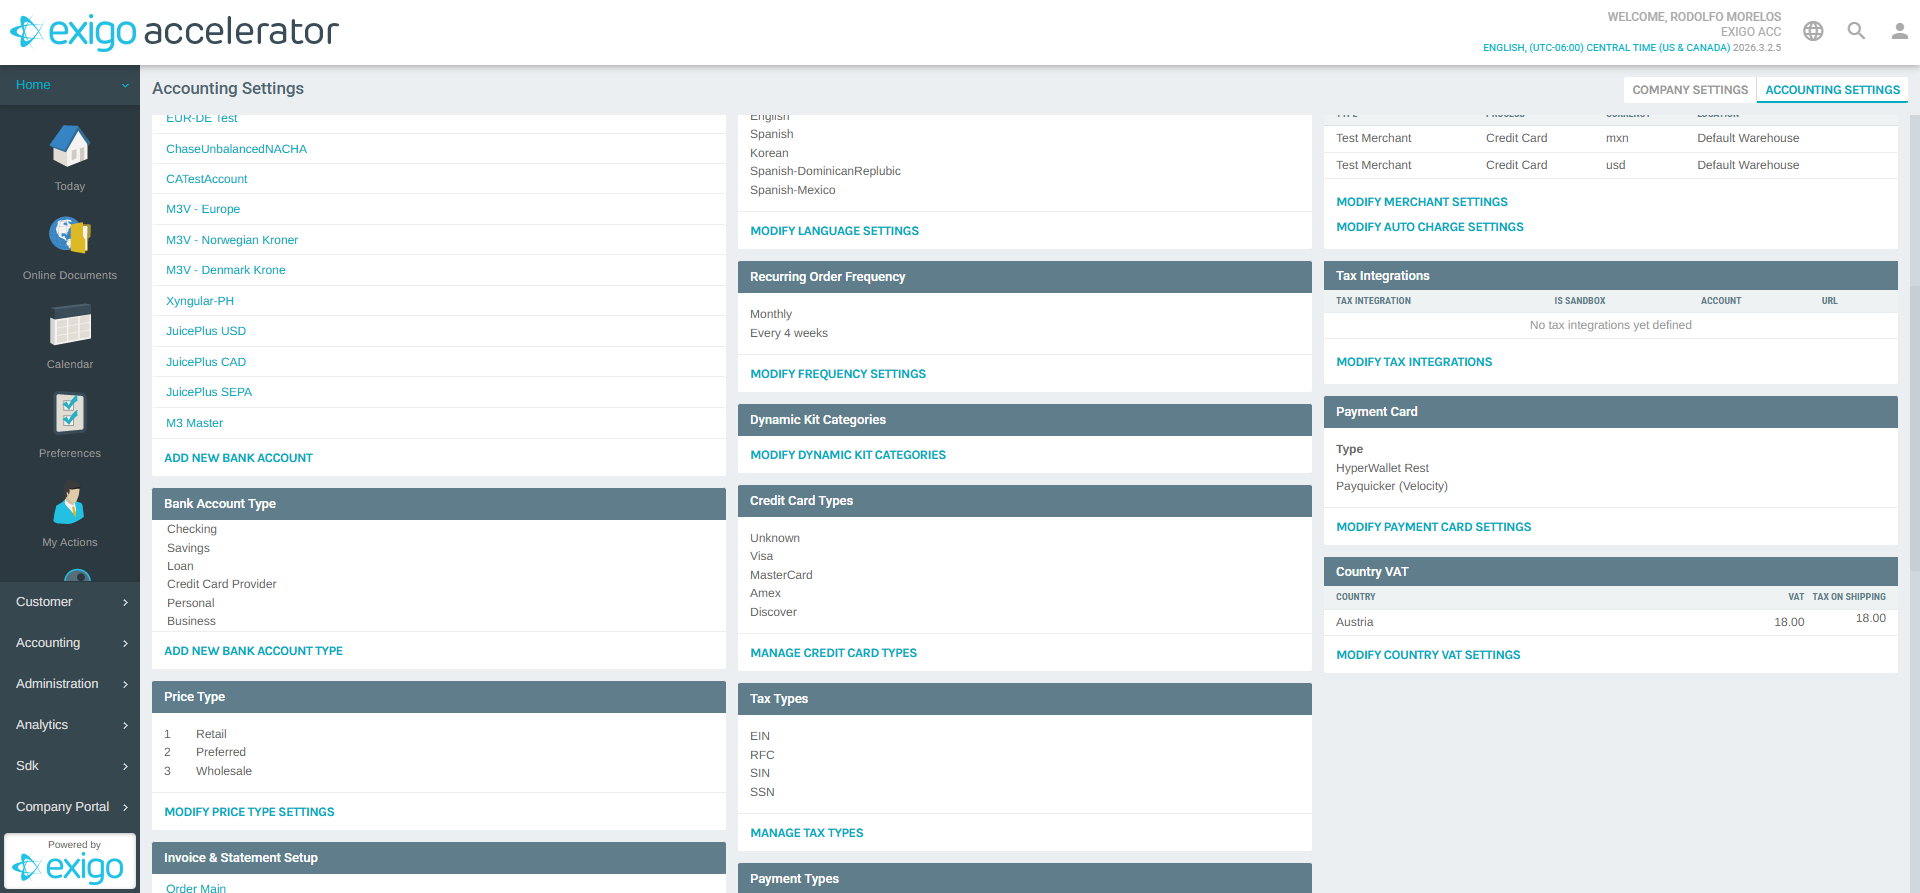
Bank Account Types
The Bank Account Type section appears directly below the Bank Account list. It defines the available account type categories that can be assigned when creating or editing a bank account.
Default types include:
| Type |
|---|
| Checking |
| Savings |
| Loan |
| Credit Card Provider |
| Personal |
| Business |
Click ADD NEW BANK ACCOUNT TYPE to define additional custom types.
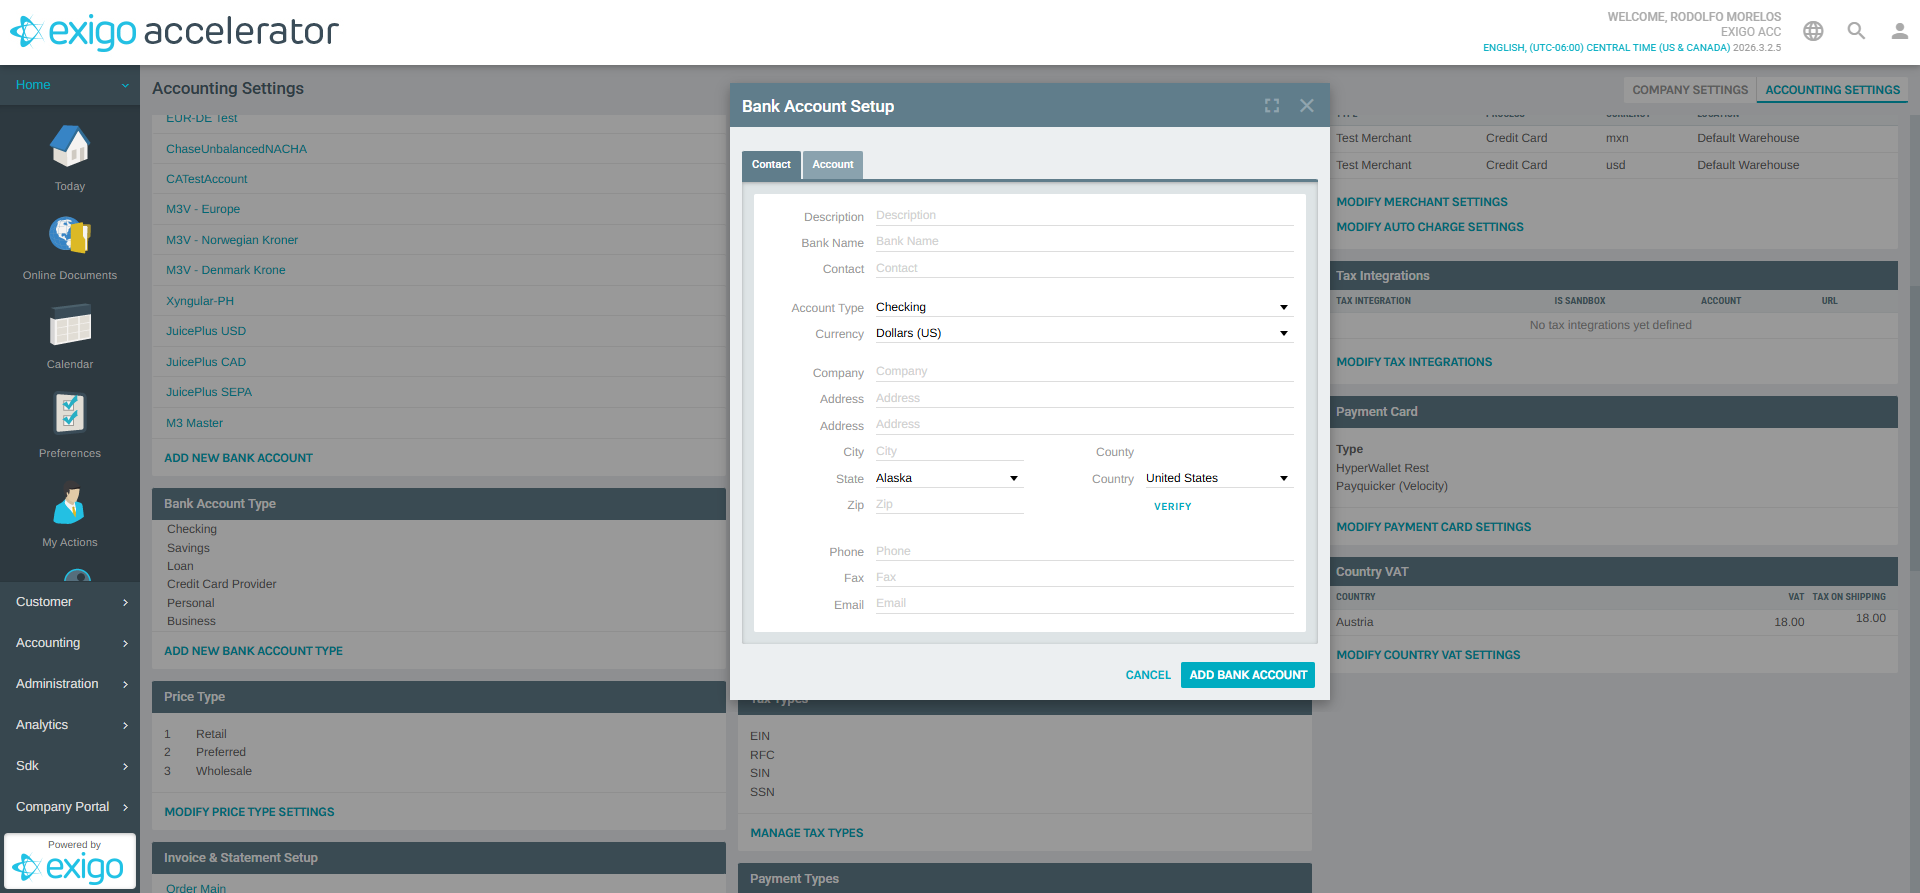
Adding a New Bank Account
To create a new bank account:
- Click ADD NEW BANK ACCOUNT in the Bank Account section.
- The Bank Account Setup dialog opens with two tabs: Contact and Account.
Contact Tab
The Contact tab captures the bank's identifying and address information.
| Field | Description |
|---|---|
| Description | A friendly name for the bank account (e.g., "USD Operating Account") |
| Bank Name | The name of the banking institution |
| Contact | The name of the bank contact person |
| Account Type | Dropdown to select the account type (Checking, Savings, etc.) |
| Currency | The currency associated with this account (e.g., Dollars (US)) |
| Company | The company name on the account |
| Address | The bank's street address (two lines available) |
| City | The city of the bank |
| County | The county (read-only, auto-populated) |
| State | Dropdown to select the state |
| Country | Dropdown to select the country |
| Zip | The postal code |
| Phone | The bank's phone number |
| Fax | The bank's fax number |
| The bank's email address |
Account Tab
The Account tab captures the financial account identifiers needed for transactions.
| Field | Description |
|---|---|
| Account Number | The bank account number |
| Routing Number | The bank's routing/transit number (used for ACH transfers) |
| Bank Code | An additional bank identifier code (e.g., SWIFT/BIC code) |

- Fill in the required fields on both tabs.
- Click ADD BANK ACCOUNT to save, or CANCEL to discard.
Editing an Existing Bank Account
To edit an existing bank account:
- Click the bank account name in the Bank Account list on the Accounting Settings page.
- The Bank Account Setup dialog opens pre-populated with the account's current information.
- Make the desired changes on the Contact or Account tabs.
- Click Save to apply changes.
Best Practices
- Use descriptive names for each bank account (e.g., include the currency or region) to easily identify them in lists.
- Create separate accounts per currency if your company operates in multiple countries to keep payout processing organized.
- Keep account types current by adding custom types that match your organization's financial structure.
- Verify routing and account numbers carefully, as incorrect values can cause payout failures.
System Notes
- Bank Accounts are accessed from Administration > Settings > Accounting Settings > Bank Account.
- Each bank account is assigned a unique system ID automatically.
- Bank accounts are referenced by other features such as commission payout configurations and check templates.