CMS Training Admin
See the sections below for configuration steps in the Exigo Portal.
BACKGROUND INFORMATION
Web sites built on .net have historically used the built-in resource system to store text that can be
translated into multiple languages. While this creates a robust programming model, any changes to
these resources required a programmer to edit these files; therefore, a full software re-deploy
would need to occur. This creates a lot of friction around the simple task of updating text on the
website. The Exigo Resource Set system combines the best of both worlds. It allows the
programming model of using Resource Files along with a Content Management System to change,
translate and maintain these.
Please note: The Exigo Resource Set Content Management System is only available in admin6
using versions v2019.1.9.4 or greater.
GETTING STARTED- EXIGO ADMIN USE
-
Verify Exigo Admin is upgraded to latest version
-
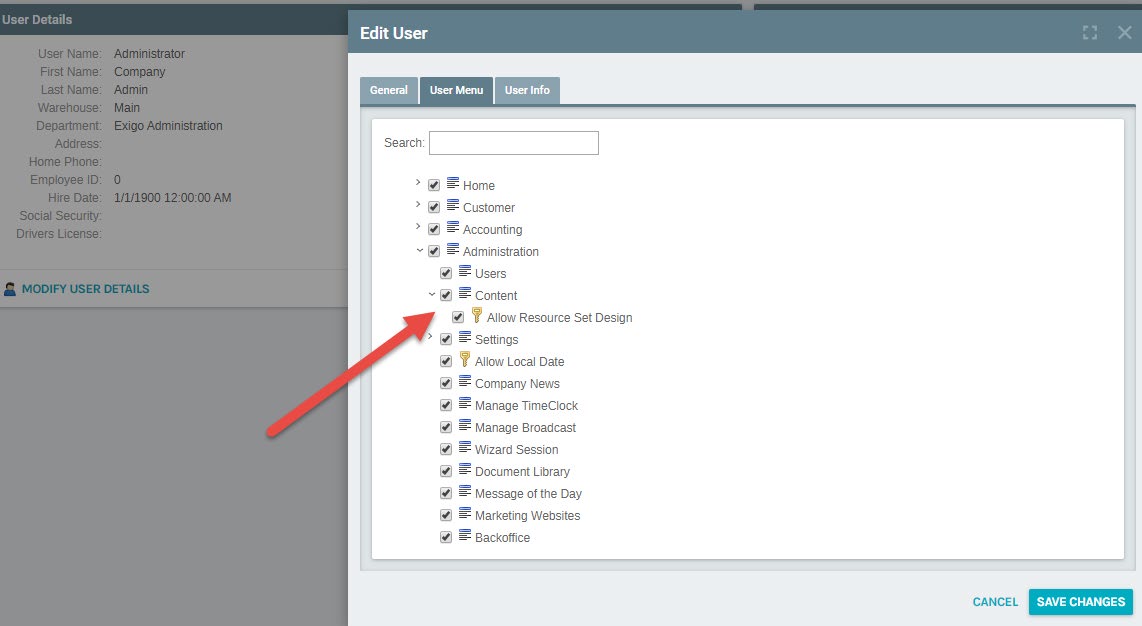
Ensure Admin has the Content tab enabled for any applicable users
o
Steps: In Exigo Admin navigate to Administration Tab > Users > Search desired User
and click into their account > Modify User Details > User Menu > Administration >
Content
OVERVIEW
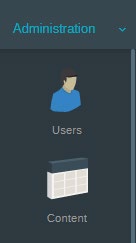
-
Under the Administration tab there is a new section called "Content"
-
At the top level is a "Resource Set" Typically called "Common Web Resources"
- Inside Common Web Resources (or any other Resource Set) you'll find the default
lists, along with any cultures you have setup. English (Default) will have the English
translations for your site (Note: additional English options are available), but will also
be the default text or image shown on all translated sites if a translation is not
provided

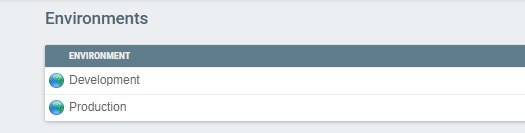
ENVIRONMENTS
- Every new resource set will default to a development and a production environment.
You can define others as well
- This means that you can peg your live code to a "Production" environment and be
free to make changes that will be released later
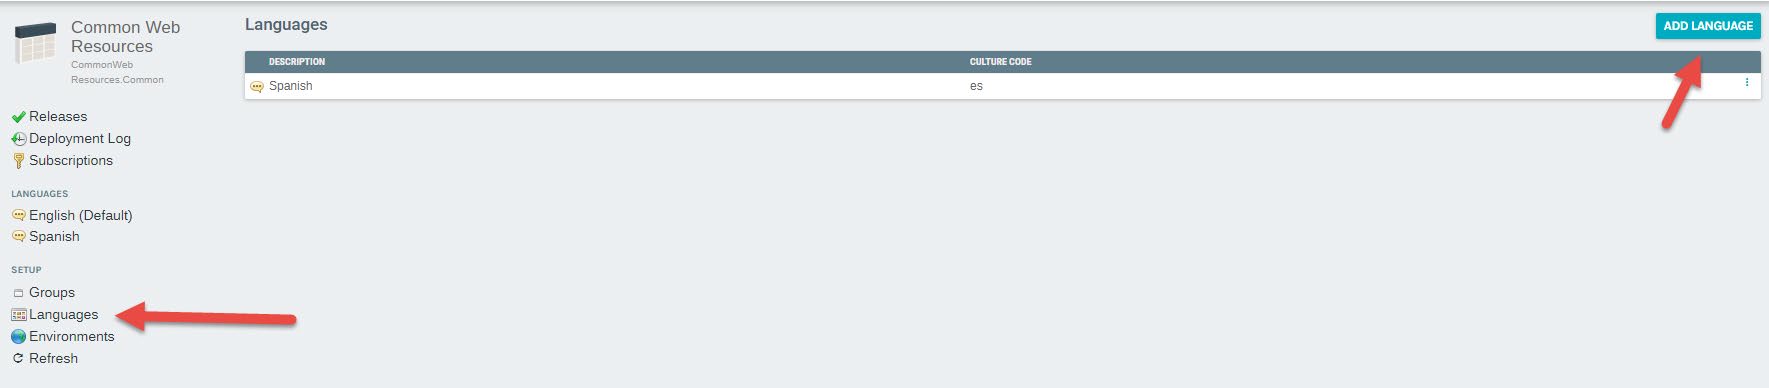
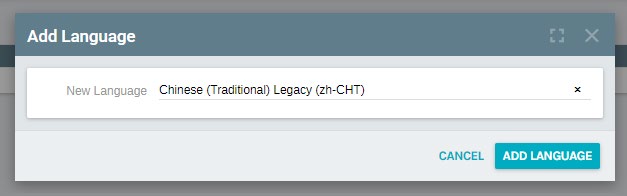
ADDING LANGUAGES
-
To add a new language to your site, navigate to Languages > Add Language
-
Find the desired language or dialect in the drop-down menu and click Add Language
IMPORT/EXPORT
- To easily add the resource translations for your new language, the Exigo Admin
Content tool has an Import/Export functionality
- After you have created the new language it will appear in the list under languages
(you may need to refresh your browser)
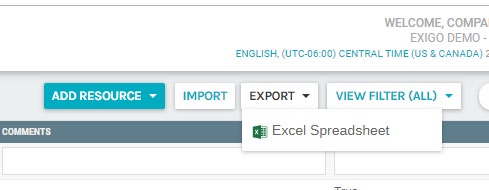
- Now in the top right of the content tool you can click Export and Export the Excel
spreadsheet
-
The Excel Spreadsheet will have a sheet for each language, including your newly added one
-
Within the appropriate language sheet, you can update column D with the value for that
language, if you would like to leave the English default leave column D blank
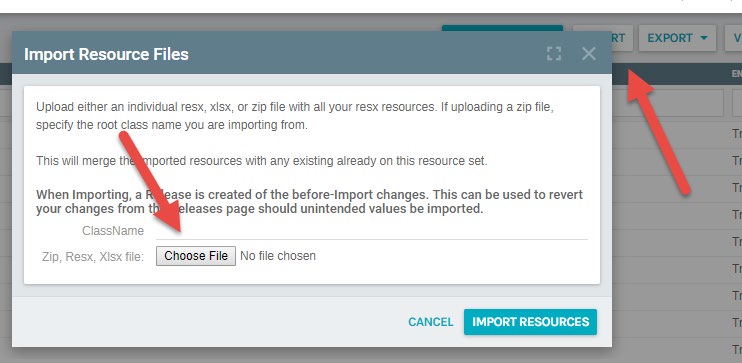
- When finished, save your Excel, within the Content Tool click Import and choose the Excel
UPDATING RESOURCES
-
You will now have your translated resources
-
To update a resource on your site (text, image, banner) navigate to the Language you
want to change- if you want the same update across all languages update English
(Default), if you want, for example, a different banner on the Spanish site choose the
Spanish language
- This will take you to a list of all resources. You can filter by type on the top right
TEXT RESOURCES
-
Click into the text resource you would like to update
-
Change the InvariantValue line to show the desired text
Note: Changing the ResourceName on an existing resource that is currently in use on your website
will cause that resource to disappear on your website
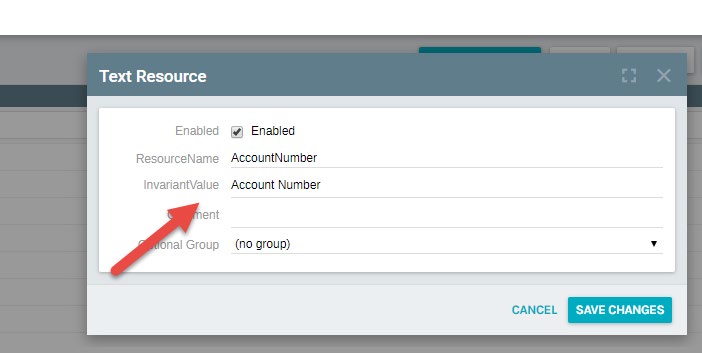
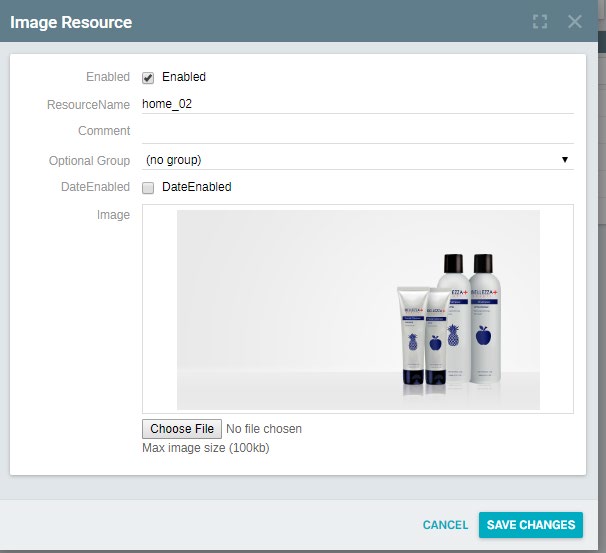
IMAGE RESOURCES
-
Filter the resources by image, click into the image resource you would like to update
-
Here you can upload a new image for that resource
-
Note: The max image size is 100kb.
-
Note: All Images are expected to be optimized for websites (Compressed, PNG/JPEG)
NEW RESOURCE
-
To Create a new resource, hit ADD RESOURCE and choose the type (image/text)
-
Be sure to use a consistent and clear naming convention
-
Note: The new resource will need to be added to your project. When creating a new
resource to add to your site you will need create a release (see below) and inform
your developer to add the resource to your website (In the case Exigo is your web
developer, please submit a ticket)
RELEASE
- You must create a release to push any resource changes to your site
o
If the environment is set to (Latest Changes) the changes to existing
resources will be visible on the website real-time, no release/deploy is
required
o
The Addition of new resources will not be real-time as your web developer
will need to add these to the website before they will be displayed
- You also must create a release before the resource will be available to your
developer
- In the content tool click Releases > Create Release