Commission Sandbox Development Environment
This guide explains Commission Sandbox 100: a dedicated sandbox for commission engine development, including debugging, a sandbox database, and Exigo Admin testing.
What is Sandbox 100?
The Commission Sandbox is a specialized sandbox configured solely for Commission Engine Development.
Creating a special sandbox just for commission plan development means you will now have access to:
-
Step-through debugging
-
Sandbox Database for debugging and testing
-
Sandbox Exigo Admin for end-user testing
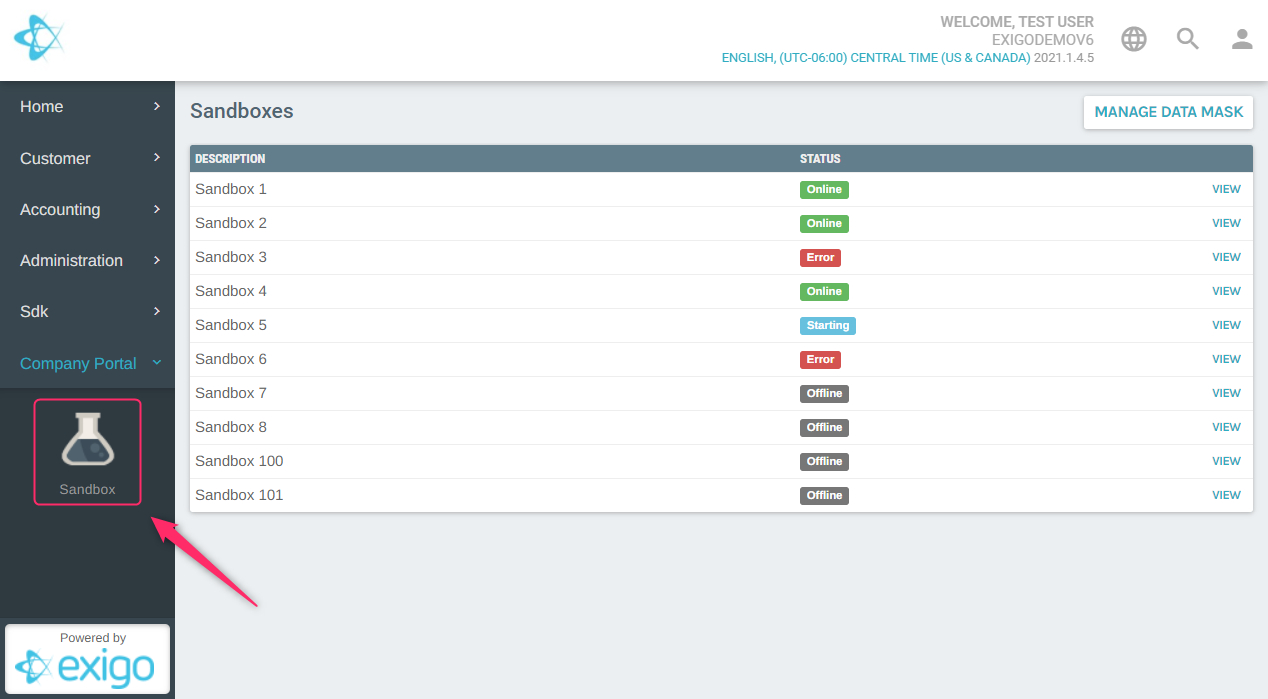
Commission Sandbox 100 is available in Exigo Admin by navigating to the Company Portal > Sandbox. If
you do not see this menu option, please contact your Exigo Administrator.
Who is it for?
Taking on your own commission plan development is not a trivial task. If you are thinking about using this
service, we highly recommend that you have resources who are:
-
Experienced C# developers with a strong focus on backend
-
The team has received full Commission Development Training from the Commissions team at Exigo*
*If you would like to receive training on Commission Plan development within the Exigo system simply open a
ticket (type = Training) and we will create a training plan that fits your needs.
How do I create Commission Sandbox 100?
Once access has been provided by your local Exigo Administrator, the Sandbox menu interface can be
accessed directly in Exigo Admin under the Company Portal section on the left side of the screen.
From this menu, select the Sandbox option. Once here, you can see the available Sandboxes and their status
on the page display.

Create your sandbox (steps 1 to 3)
-
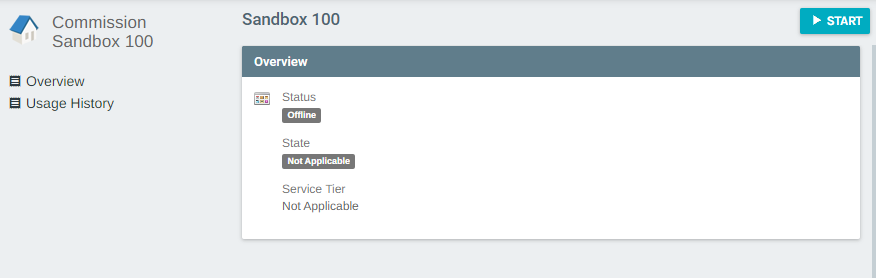
Click View in the right most column for Commission Sandbox 100
-
On the following page click "Start" in the top right corner.
-
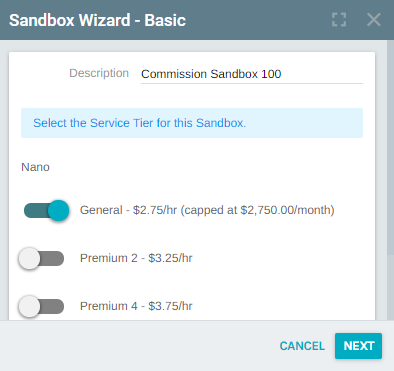
Name your Sandbox and assign the necessary resources to it
On the following screen assign a Description for your new Sandbox. Next select the service level based on
your business needs.
Click the "Next" button.
*You may not see all the options listed in the below screenshot depending on your Exigo Service level
*As a note, General tiers will be priced capped as they are today, Premium tiers will be billed at the rate displayed on the
tier. Once you have gone into a Premium tier, you will not be able to scale back into a General tier.
Create your sandbox (advanced settings)
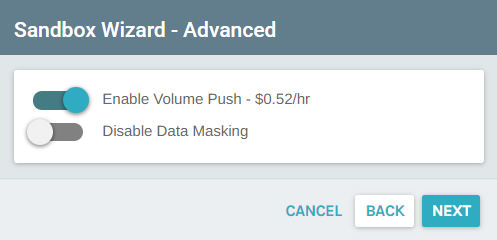
4. Configure the Advanced settings for your new Sandbox
Select the appropriate options from the screen and click "Next"
- Enable Volume Push
This will allow for commissions to run in the sandbox environment. You will need to enable this
option.
- Disable Data Masking
As a security precaution, Exigo provides the ability to mask sensitive information. This option will
be enabled by default. To disable data masking, click the slider to prevent masking of sensitive
information. You will know this feature is disabled when the slider shows in a blue/green color and
is showing the slide decal on the right.
5. Select the Sync options for your new Sandbox
Select the necessary sync options for your new Sandbox as outlined below and click "Next".


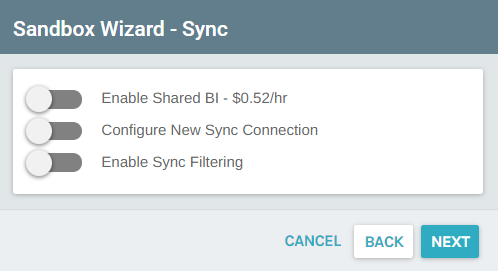
Create your sandbox (sync options and confirmation)
- Enable Shared BI
This will create a sandbox reporting instance on our shared BI server. If you will be developing web
code and need a sync database to develop against, you need to enable this option. This is explained in
greater detail later in this document.
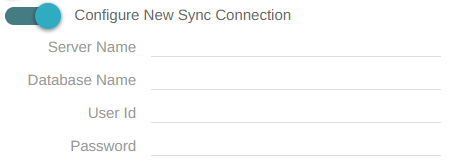
- Configure New Sync Connection
Here you can specify the destination for your data to be synced to. If you will be developing web code
and require a sync database to develop against, you need to enable this option if you have not opted
to use the Shared BI instance mentioned above.
- Enable Sync Filtering
Enabling Sync Filtering tells Exigo how much data you want to include in your sync process. This defaults
to include 90 days worth of data automatially when selected but you can change this as needed to
preserve DB space.
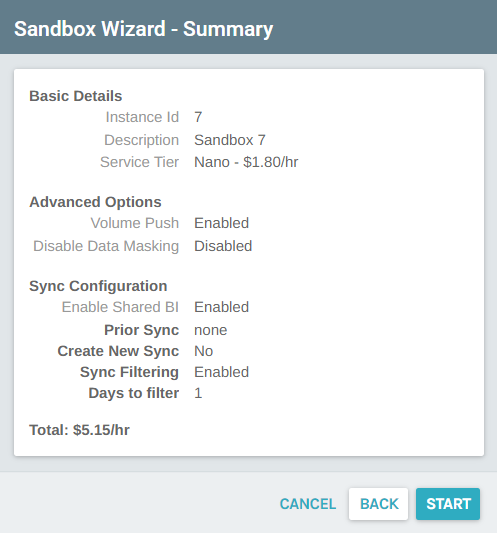
6. Confirm Settings and start your new Sandbox
You have now reached the final steps in starting a new Sandbox. Make sure that you review the options
displayed on the page. If any of the options are incorrect click back until you get to the necessary screen to
ensure you have the appropriate options selected.
Once you have confirmed all settings are accurate, click "Start".


Allow Visual Studio commission plan access
Allow Visual Studio Commission Plan Access
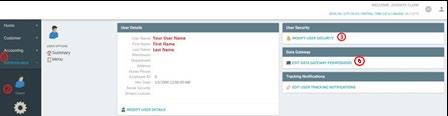
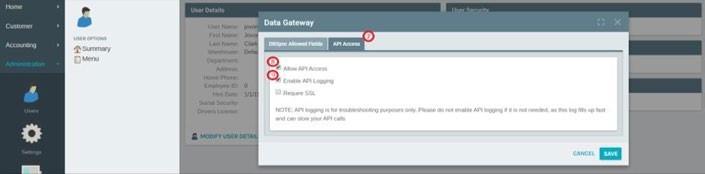
To set your "Allow Visual Studio Commission Plan Access" Flag set to True, go to www.exigo.com.
- Login to your Company b. Go to Administration
- Choose Users d. Find your User and Double Click or Click Edit e. Navigate to Modify User Security
- Then choose Tool Access g. Lastly, enable Allow Visual Studio Commission Plan Access
- Open your preferred program to remote into another computer. In this we will be using Remote Desktop. (If you are using a Windows Operating System, it should already be installed)
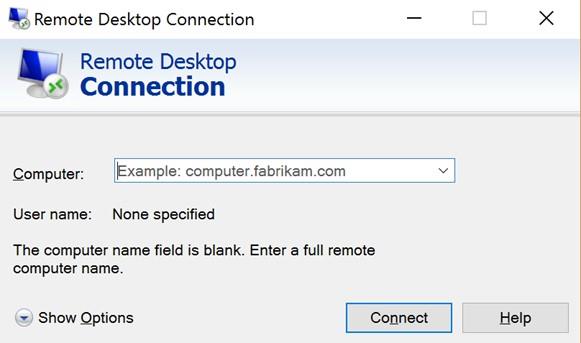

Remote Desktop connection
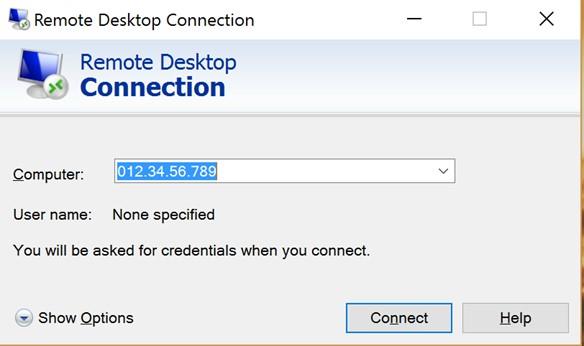
In this Dialog Box, input your RDP Server name or IP, then press Connect
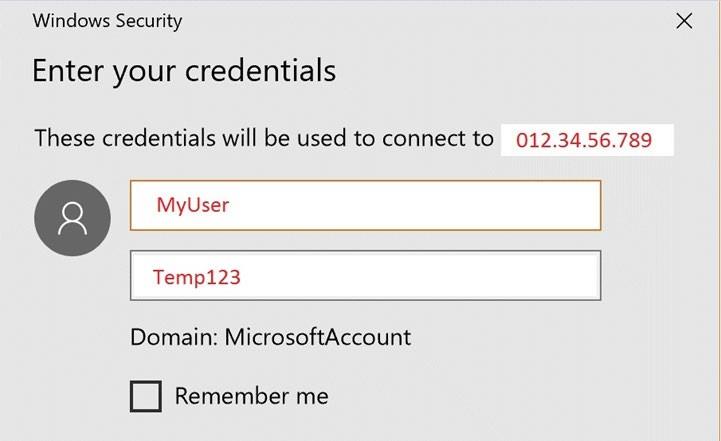
After you press connect, the dialog box will now prompt you to insert your login credentials (refer to screenshot in
step 4)
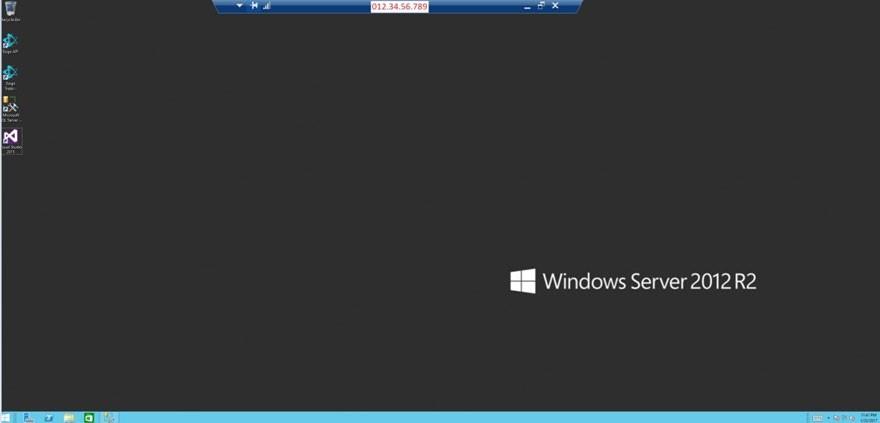
You should then see the desktop of your environment
Access your commission code
How Do I Access My Commission Code?
To access your Commission Code, you can follow these easy quick steps.
-
From your Remote Desktop Connection you just made earlier, Open your Visual Studio Application
-
Navigate to the EXIGO tab and choose the Commission Plan dropdown item
-
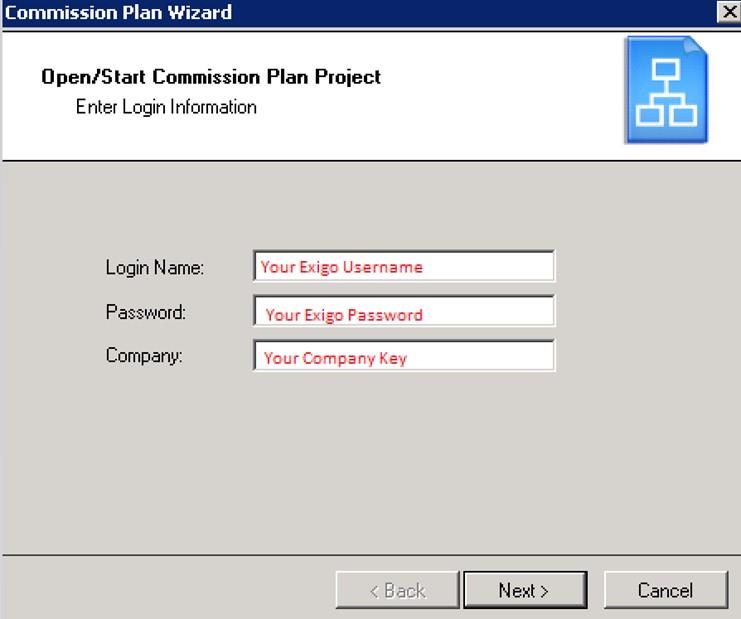
Once you click Commission Plan, a new dialog box should pop up and this is where you will enter your
Login credentials. These credentials will come from your Exigo Admin Settings (www.exigo.com). You
must have "Allow Visual Studio Commission Plan Access" set to true to be able to Login In.

Commission plans in Visual Studio
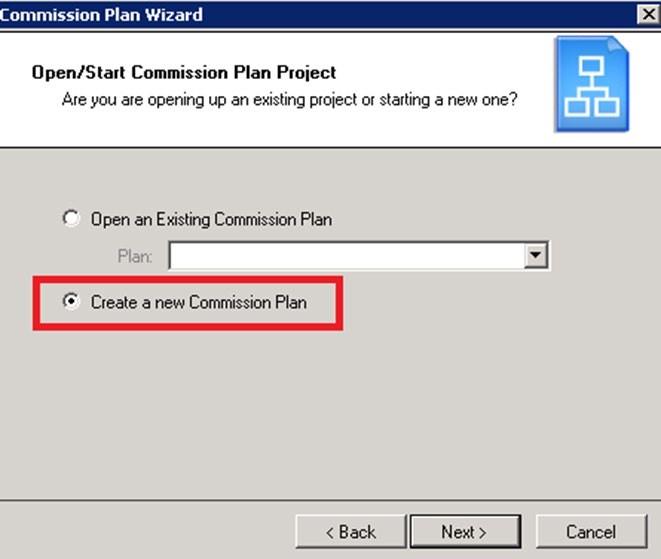
-
To create a new Commission Plan, you will select the following option
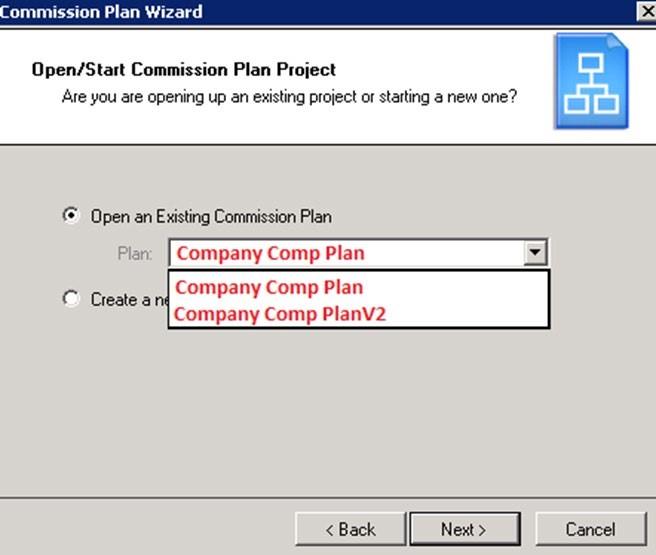
-
To make changes to an already existing Commission Plan, you will select the desired Plan Name from
the drop-down list shown below
SQL database access
- You should now see your Visual Studio Project
YOU ARE NOW IN YOUR COMMISSION CODE!
To access your SQL Database for your Sandbox 100, you can follow these easy quick steps.
-
Open your SQL Server Application within your Remote Desktop Connection previously created
-
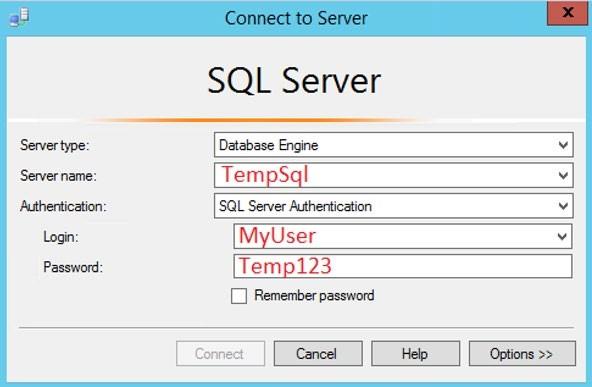
Enter your credentials to login to your Sandbox 100 Server

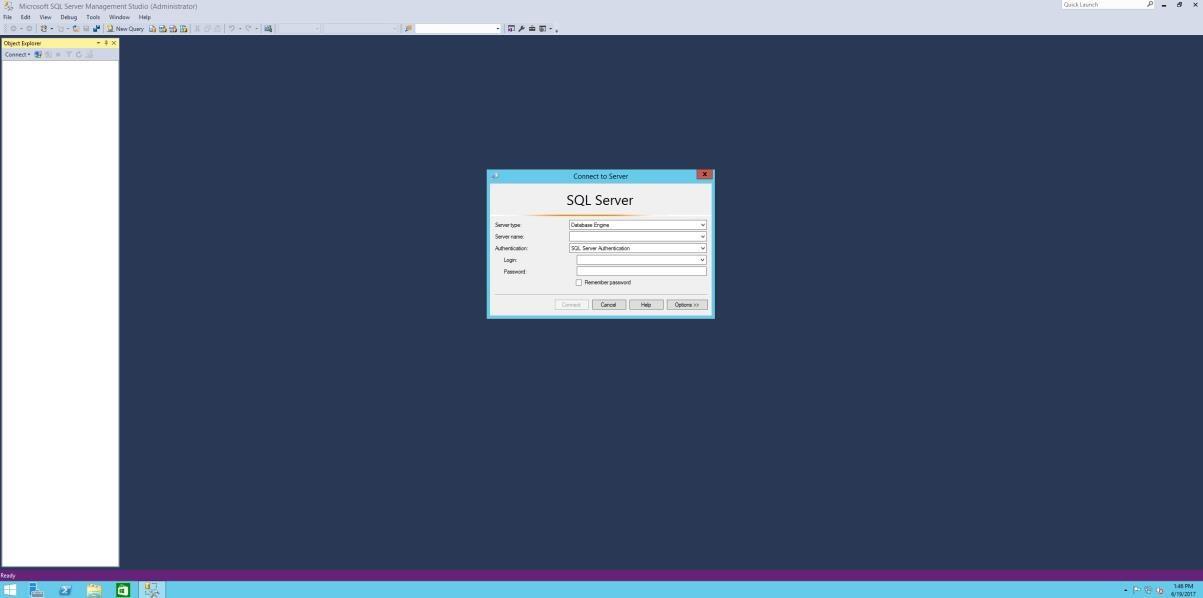
SQL Server connection (continued)
-
Before clicking Connect, click Options >> and insert in the database you want to connect to
-
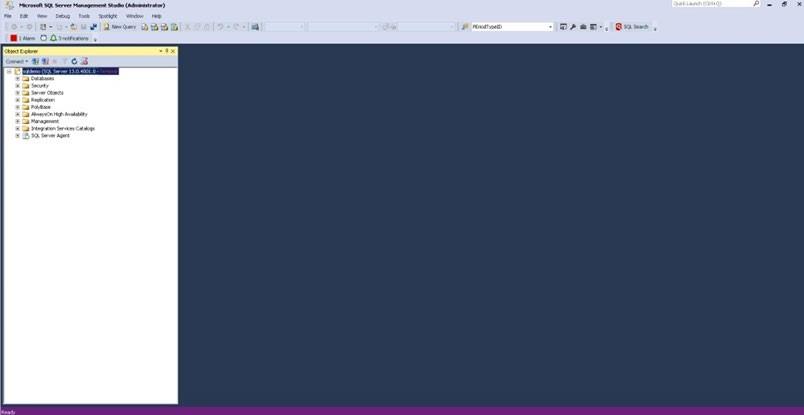
Now Click Connect
-
You are now connected to your database where you can see in the Object Explorer.

FAQ
1.How is this new sandbox different from the other 8 sandboxes we already have?
- Primarily, it's the RDP access to a virtual machine that allows you to develop the commission plan directly on the server b. Other than that, it works in much the same way as the other sandboxes:
- You can turn them on or off any time ii. You are only billed for usage when they are on iii. Your bill rate is based on your subscription level, service tier and options selected iv. When you turn off and then turn back on, or when you refresh the sandbox, it pulls your last backup of your production database, just like the standard sandboxes **2.****When the code is checked in, does it check into the development area of all platforms still?**
- **3.****After I make a change, how do I deploy it?**
- This operates identical to the live system. Log in to [http://sandbox100.exigo.com/](http://sandbox100.exigo.com/) and hit the deploy button in the development area. **4.****What if I am logged in and making changes to the code but then someone else logs in to the** **Sandbox 100?**
- We currently only allow one user connection at a time, therefore, the new user who logs in will be granted the session and will resume the session from where the previous user left off. b. The changes will not be lost, but there will be no notice as to why the original user was logged out. **5.****What if you are making changes in VS or SQL and then somebody closes the Sandbox 100?**
- If someone hits "Stop" while you are using it, any code you have checked in will be saved, but everything else will be lost. **6.****I am assuming all Database changes I make in Sandbox 100 will need to be duplicated into the** **normal SQL Database, is this correct? (Writing everything in SQL twice?)**
- Yes, this is just like the other sandboxes work today. **As always if you have any questions please don't hesitate to reach out and ask.**